- Playing in time is hard...
- Recording studios are expensive...
- Cymbals are heavy...
- Groove is everything
- Learn finger drumming
- And tackle all of these problems!
- Here's the free beginner course
Basic finger drumming technique and pad layout in 3 minutes
In this tutorial I’ll explain everything you need to know if you want to get started with finger drumming. Like how to set up the pads and how to play some basic grooves right away. Feel free to watch the video above for the same information, and if you’re more of a reader, read on!
Finger drumming quick start
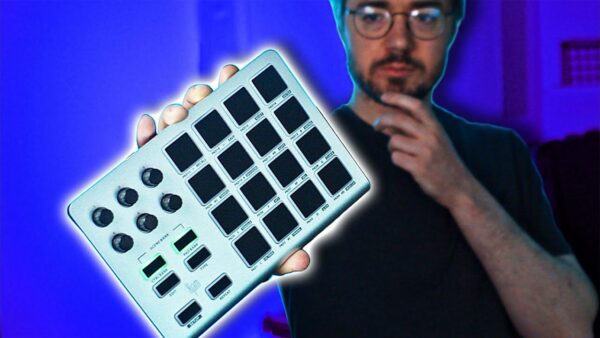
- You’ll need a pad controller like an Akai MPC/MPD, Korg Pad Kontrol or a Native Instruments Maschine type device.
- You’re also going to need some kind of software drumkit. I use XLN audio’s Addictive drums 2 at the moment, but feel free to use anything else. As long as you have kicks, snares and hihats.
- Steven Slate actually has a 100% free software drumkit that you can get over here.
- Most of the time you’ll also need a computer and an audio interface, but that depends a little on the other stuff you own. For example, some Akai MPC devices are standalone units and will not need anything else. And the Maschine Mk3 does need a computer to run, but it has an audio interface built in, so you won’t need that if you own a Maschine mk3.
The best pad layout for finger drumming
Now, make sure your pads trigger the following sounds:
Low Tom
Mid Tom
High Tom
Cymbal A
Hi Hat
Open HH
Hi Hat
Ride
Sidestick
Snare
Snare
Sidestick
Cymbal B
Kick
Kick
Cymbal C
The core of this layout (kick, snare, hi hats and open hi hat) basically never changes, but the other sounds are a little more flexible. This worked really well for me as a basic layout, but it’s not like I never swap sounds around. For now this should be a great start!
I have a lesson in my beginner course (available without logging in), in which I build up this layout step by step (click), explaining why I put every sound in that specific place, so that might be worth checking out if you’re curious / skeptical.
Finger drumming technique
You might want to check out the video so you can hear examples of me playing the patterns written out below. Count along with the diagrams and hit the pads in the right order.
Use your right (dominant) hand and hit the following pad combination


Now try and hit some open hi hats. Notice how you can use the alternative kick and snare pads.


Now you can start playing 16th notes with your left hand in between the right hand hits.


Obviously you can also hit other pads. You could for example play soft ghost notes on the snare with your left hand instead of hitting that hi hat. Or place the open hi hats in other places in the bar. By experimenting and playing around a bit you can actually cook up a lot of beats with just this information.
How to move your hands
Try and make a downward wrist motion every time you hit a pad and don’t press the pads with your fingers as if they’re buttons. Think hitting, not pressing. Think drums, not piano.
How to make it groove?
When you’re just starting out it’s going to be hard to really make your beats groove without quantizing them. Even if you have a good inner clock, you’re going to have to train your hands to execute all motions in the exact way and at the exact time you want them to. This will take time, just like learning any other instrument. Try and have fun while playing, practice consistently (at least 5 times a week for 20 minutes) and evaluate your progress a few months in.
Obviously you can use this website and all the courses, articles and videos on it to figure out what to work on next and how to work on it in the most efficient way possible. Which bring us to the last paragraph of this mini finger drumming course:
Hungry for more?
This article is basically a quick summary of the free beginner course on this website. In the beginner course on this website I also give tips on what equipment and software to buy as well as advice on how to install everything, what to do when you’re having problems and I’ll teach you some nice tricks that make you progress better and faster when practicing finger drumming. For those of you who already got all the basics down, I also have lots of courses on this website that will help you progress. For example the “Grooving & Improving” course, which starts off completely free as well with 5 in depth lessons and some nice music to play along to!